The Curation Process: How We Find the Next Viral Tech Gadget
Share

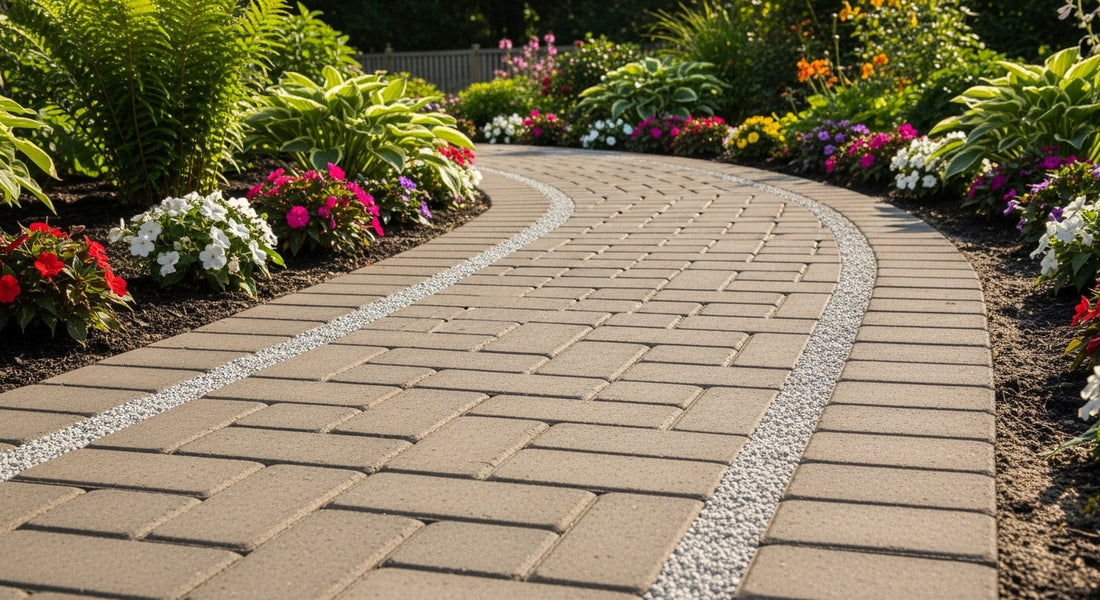
A paver walkway is a fantastic way to add charm, functionality, and curb appeal to your landscape. It provides a beautiful, durable, and mud-free path connecting different parts of your yard, guiding visitors to your front door, or leading to a garden feature. While the results look professional, laying a DIY paver walkway is a completely achievable weekend project for a homeowner. The key to a long-lasting, stable path that won't heave or shift over time isn't the pavers themselves, but the foundation beneath them. Proper paver base preparation is truly 90% of the job.
Planning and Materials
Before you break ground, a solid plan will save you time and headaches.
-
Design Your Path: Decide on the route and width of your walkway. A gentle curve can add more visual interest than a straight line. Choose your paver style—classic brick shapes, cobblestone, or modern large-format pavers—considering the style of your home and garden.
-
Calculate Materials:
-
Measure the length and width of your planned path to get the total square footage.
-
Pavers: Add 10% to your square footage calculation to account for cuts and potential breakage.
-
Gravel Base (e.g., paver base): For a standard 4-inch deep base, you'll need roughly 1 ton per 50 square feet.
-
Sand (e.g., paver sand): For a 1-inch leveling layer, you'll need about 1 ton per 200 square feet.
-
Edge Restraints: Measure the total linear feet of the walkway edges.
-
Polymeric Sand: Check the manufacturer's bag for coverage estimates based on joint width.
-
Step-by-Step Installation
Here's how to lay pavers for a durable walkway:
-
Excavate: Mark out your path shape using landscape paint or stakes and string. Dig out the area to the required depth. For a walkway, excavating 7 inches is typical (4" gravel base + 1" sand + 2" paver height). Ensure the excavated area is level side-to-side but has a very slight slope along its length for drainage (about 1/4 inch drop per foot). Tamp the soil at the bottom until firm.
-
Lay and Compact Gravel Base: Add the gravel base material in 2-inch layers. After each layer, use a hand tamper or a rented plate compactor to thoroughly compact the gravel until it is solid and level. This compacted base is critical for preventing sinking and shifting.
-
Spread and Level Sand: Place two parallel 1-inch outside-diameter pipes (like electrical conduit) on top of the compacted gravel. Shovel the paver sand between the pipes. Pull a straight 2x4 board across the tops of the pipes in a sawing motion (this is called "screeding"). This creates a perfectly smooth, 1-inch thick bed of sand. Carefully remove the pipes and fill in the indentations with sand, smoothing gently. Do not walk on or compact the sand layer.
-
Set Pavers and Install Edging: Start laying pavers at one end, placing them directly onto the sand bed. Work outwards, setting them gently in place without twisting or sliding them. Use string lines to keep your edges straight. Once all pavers are laid, install plastic or metal paver edge restraints along the sides, securing them into the ground with spikes.
-
Sweep Polymeric Sand: Spread polymeric sand over the dry paver surface. Use a push broom to sweep the sand across the walkway until all the joints between the pavers are completely filled. Use a leaf blower on a low setting (or the broom) to remove excess sand from the paver surfaces. Follow the manufacturer's specific instructions for activating the sand, which usually involves gently misting the walkway with water. This hardens the sand, locking the pavers in place and preventing weeds.
Tools You'll Need
-
Shovel & Rake
-
Wheelbarrow
-
Tape Measure
-
Landscape Stakes & String
-
Level (a long one is helpful)
-
Hand Tamper (or rented Plate Compactor for larger areas)
-
Two 1-inch OD Pipes (for screeding sand)
-
Straight 2x4 Board (for screeding sand)
-
Rubber Mallet (for adjusting pavers)
-
Push Broom
-
Leaf Blower (optional)
-
Hose with mist setting
-
Safety Glasses & Gloves
-
Paver Saw (rental, if cuts are needed)
Conclusion: A Durable and Beautiful Addition
Laying a paver walkway is a rewarding DIY project that significantly enhances your landscape. While it requires careful planning and physical effort, especially during the excavation and base preparation stages, the end result is a durable, beautiful, and professional-looking path that you can be proud of for years to come. Enjoy your mud-free strolls through your improved garden!
